How to Install and Configure CSF (Config Server Firewall)
How to Install and Configure CSF (Config Server Firewall) – CSF is firewall application suite for Linux servers. CSF is also a Login/Intrusion Detection for applications like SSH, SMTP, IMAP, Pop3, the “su” command and many more. CSF is a good security solution for hosting servers.
How to Install and Configure CSF
1. Installation of CFS dependencies
CSF is based on Perl, so you need to install Perl on our server first. You need wget to download the CSF installer and nano or an editor of your choice for editing the CSF configuration file. Install the packages with the yum command:
[root@dummy ~]# yum install wget vim perl-libwww-perl.noarch perl-Time-HiRes
2. Install CSF
Change directory to /usr/src/ and download CSF with wget command.
[root@dummy ~]# cd /usr/src/
[root@dummy src]# wget https://download.configserver.com/csf.tgz
[root@dummy src]# tar -xzf csf.tgz
[root@dummy src]# cd csf
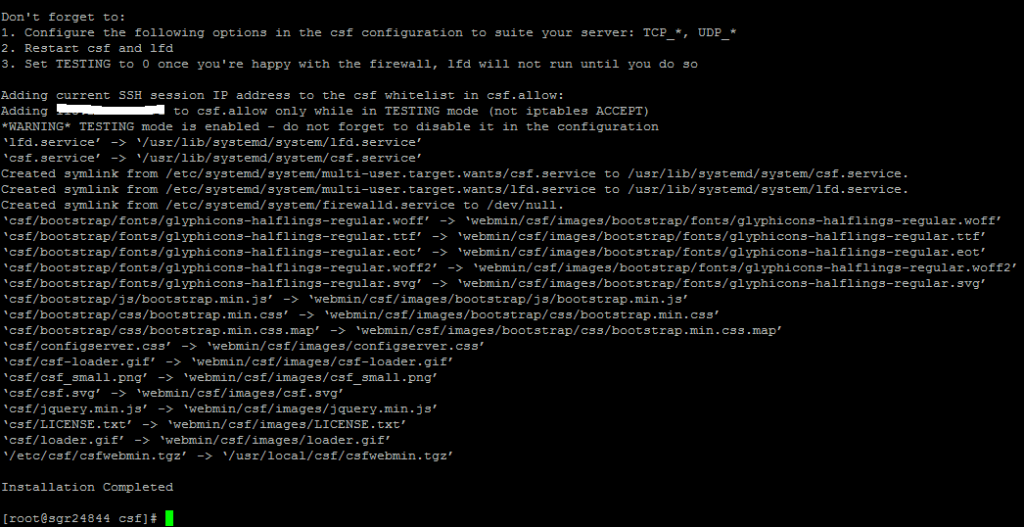
[root@dummy csf]# sh install.sh
You should get the information that CSF installation is completed at the end.
Now you should check that CSF really works on this server. Go to the /usr/local/csf/bin/ directory, and run csftest.pl.
[root@dummy csf]#cd bin
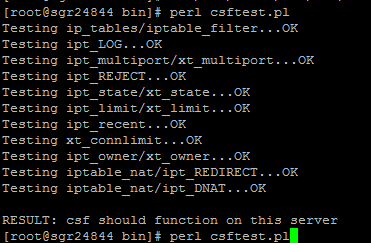
[root@dummy bin]#perl csftest.pl
If you see the test results as shown below, then CSF is running without problems on your server:
3. Configure CSF
On centos7 before stepping into the CSF configuration process, the first thing must know is that “CentOS 7” has a default firewall application called “firewalld”. You have to stop firewalld and remove it from the startup.
[root@dummy bin]# systemctl stop firewalld
[root@dummy bin]# systemctl disable firewalld
[root@dummy bin]# nano /etc/csf/csf.conf
TESTING = “0”
# Allow incoming TCP ports
TCP_IN = “2925,80,443”
# Allow outgoing TCP ports
TCP_OUT = “2925,80,443,25”
# Allow incoming UDP ports
UDP_IN = “53”
# Allow outgoing UDP ports
UDP_OUT = “53”
# Allow/Denied incoming PING
ICMP_IN = “0”
# Allow/Denied outgoing PING
ICMP_OUT = “0”
#Block Certain Countrys
CC_DENY = “CN,RU”
#Send the Su and SSH Login log by Email.
LF_SSH_EMAIL_ALERT = “1”
LF_SU_EMAIL_ALERT = “1”
LF_ALERT_TO = “youremail@yourdomain.com”
Enable connection tracking.
CT_LIMIT is max number of connection allowed from one IP, you can set this value as per your server requirement.
# To disable this feature, set this to 0
CT_LIMIT = “100”
# connection tracking scans
CT_INTERVAL = “30”
# Send an email alert if an IP address is blocked due to connection tracking
CT_EMAIL_ALERT = “1”
# If you want to make IP blocks permanent then set this to 1
CT_PERMANENT = “1”
# If you opt for temporary IP blocks for CT
CT_BLOCK_TIME = “1800”
#Enable distributed attacks
LF_DISTATTACK = “1”
LF_DISTATTACK_UNIQ = “2”
#Enable distributed FTP attacks.
LF_DISTFTP = “1”
LF_DISTFTP_UNIQ = “3”
LF_DISTFTP_PERM =1
#Enable distributed SMTP attacks.
LF_DISTSMTP = “1”
LF_DISTSMTP_UNIQ = “4”
LF_DISTSMTP_PERM = “1”
# This is the interval during which a distributed FTP or SMTP attack is measured
LF_DIST_INTERVAL = “300”
#SYNflood Protection
SYNFLOOD = “1”
SYNFLOOD_RATE = “75/s”
SYNFLOOD_BURST = “25”
Save and closed
Now start/enable CSF and LFD with systemctl command:
[root@dummy bin]# systemctl enable csf
[root@dummy bin]# systemctl enable lfd
[root@dummy bin]# systemctl start csf
[root@dummy bin]# systemctl start lfd
Note : For TCP / UDP ports adjust to the needs that run on your server
value :
0 = off (not active)
1 = on (active)
That all and good luck